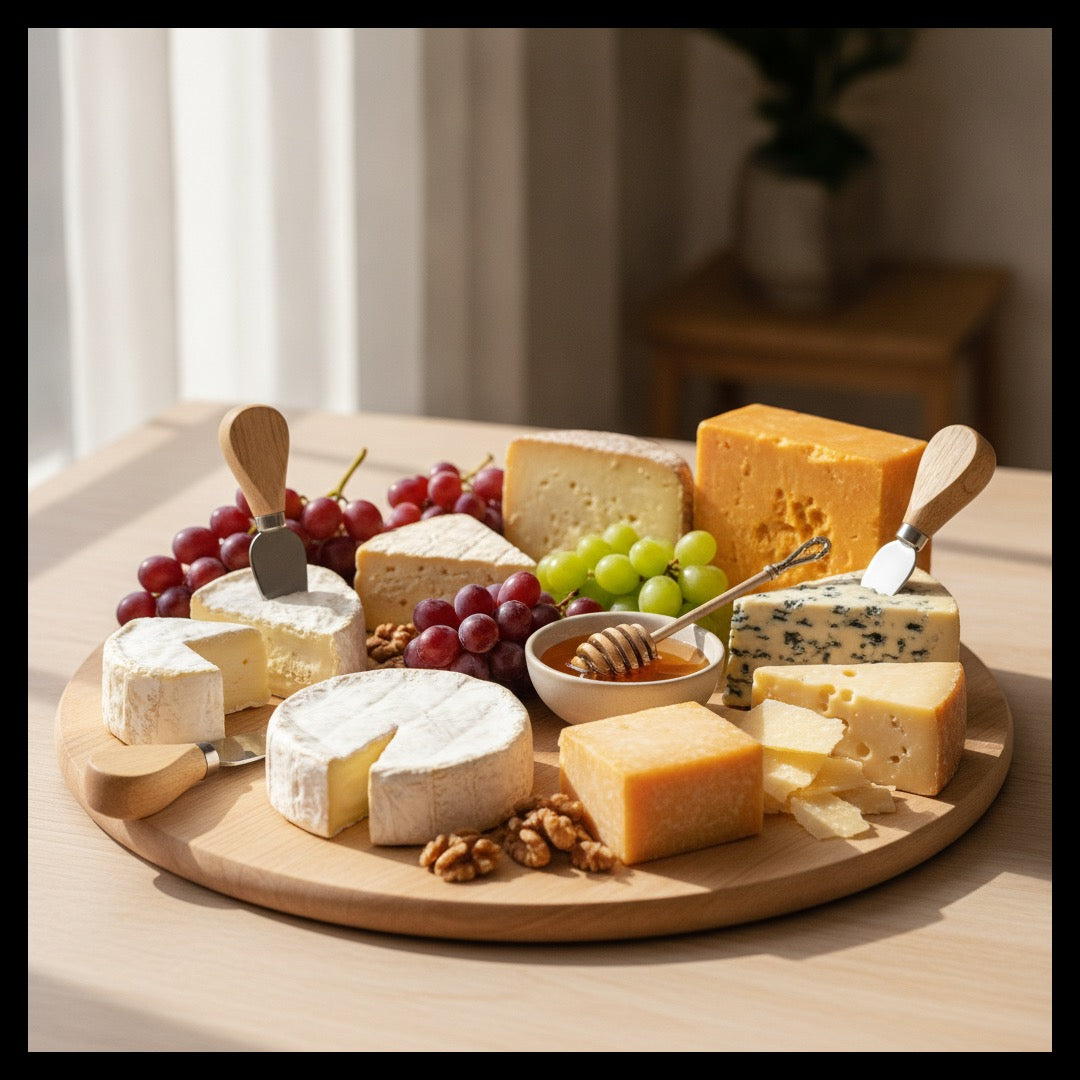
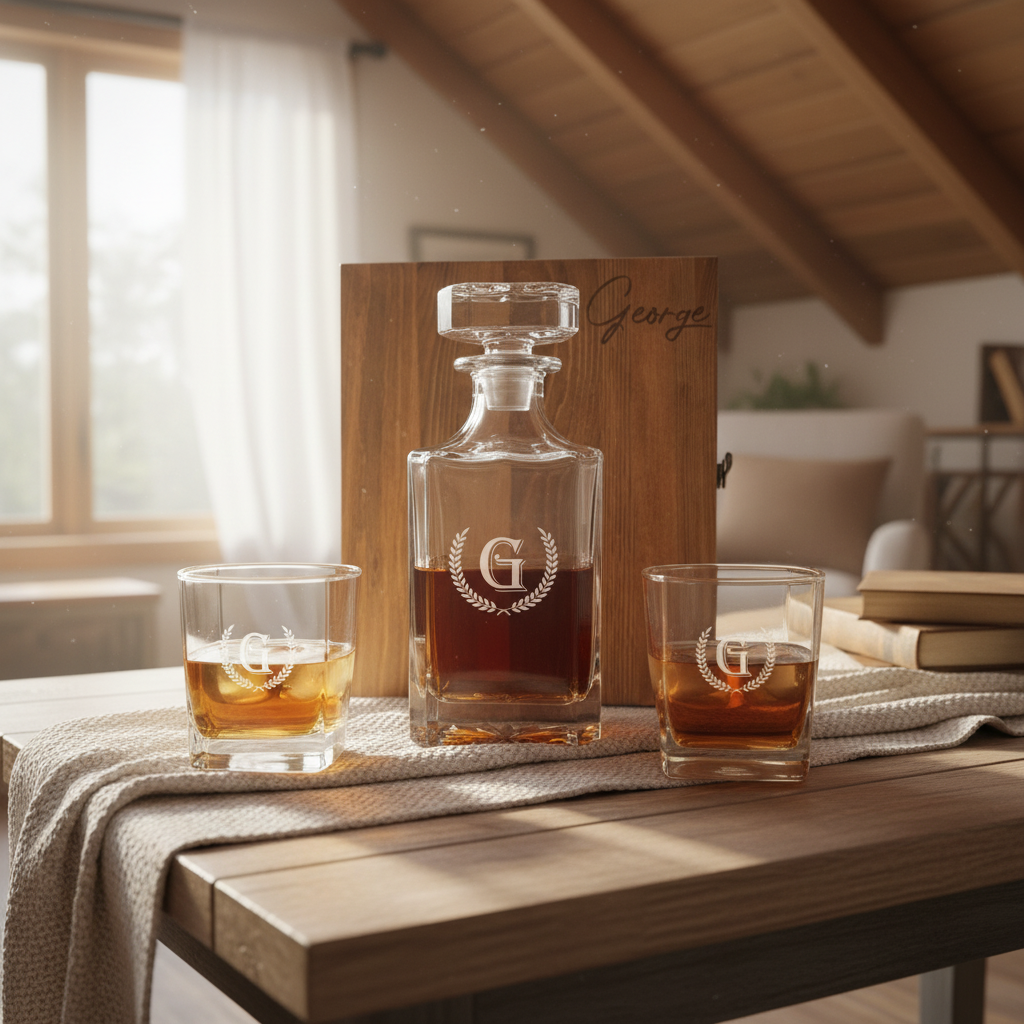
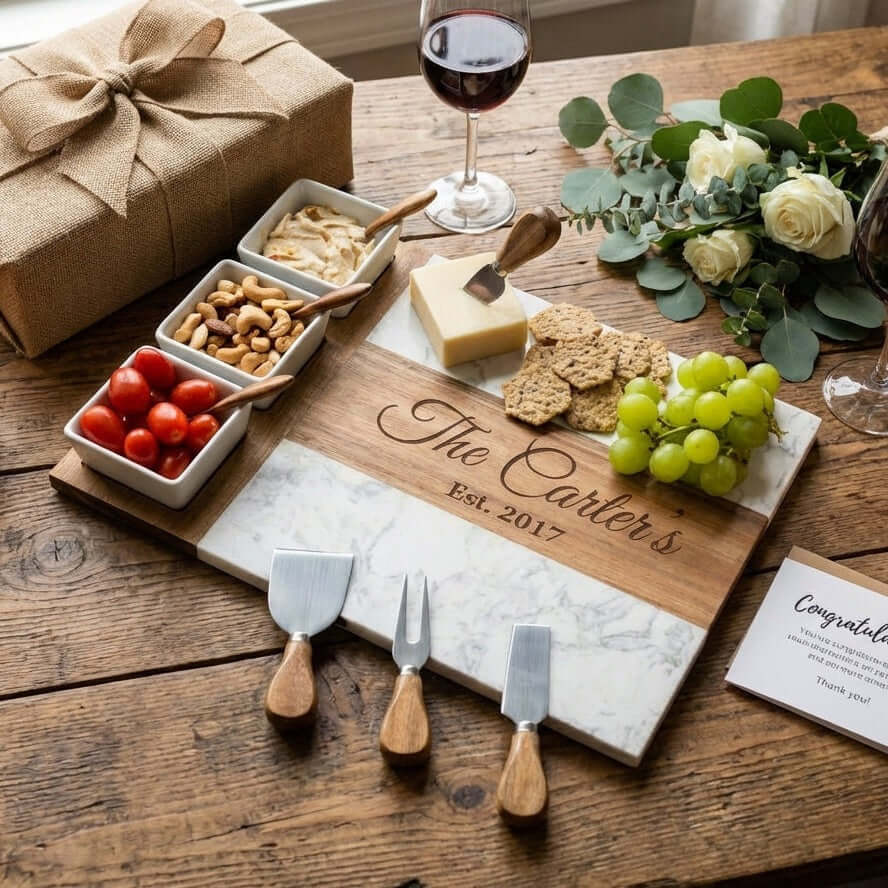
Sale: Free Personalization on All Orders | Free Shipping on Orders Over $75

0

Your Cart is Empty

How to Fold Salami for Charcuterie Board Like a Pro

by Bethany Barbar March 21, 2023

Getting salami slices to fit perfectly on top of your charcuterie board can be tricky, but with this expert guide on how to fold salami, you will be the envy of all your guests at every party you bring your charcuterie platter to!

Just follow these instructions on how to fold salami for Charcuterie Board like a pro, and you will be the talk of the party!

How to Fold Salami for Charcuterie Board

What Are Salami Roses?

Salami roses are an attractive way to present thinly sliced salami on a charcuterie board. They look like roses, hence the name. 

Folding salami slice is similar to rolling sushi. It involves wrapping a skinny slice of salami around itself in an accordion-style fashion until you have used up all the salami slices.

The goal is to create a compact roll that can be cut into uniform slices of meat using your knife.


Pick the Right Salami

There are many types of salami on the market. However, one of the most popular is Genoa salami. It has a firm texture, which makes it perfect for slicing thinly.

Genoa salami is typically used as an appetizer or served with cheese and fresh fruit as part of a charcuterie board.

The steps below will help you prepare your Genoa salami so you can make your charcuterie board.


Salami Rosette

Folding salami into a rosette is an easy way to add extra flavor and interest to your charcuterie board.

It can also be done in advance and stored in the refrigerator with plastic wrap until ready. This is how you make salami roses on the cheese board.


Step 1: Fold Your Salami

Take four pieces of salami and fold them in half so you have four half-moon shapes.

Place three goat cheese slices in the center of one salami (so the pieces stick together). Place this package of three cheese slices on top of a similar packet.


Step 2: Line Up the Salami

Once you have your four salamis folded, it is time to prepare them for the charcuterie board. Lay them out next to each other so they are all aligned in one long row, then roll the row of salami into a tight roll.

Start from the end with the last layer and keep rolling until there are no gaps between layers of cured meats in the roll, and it looks like one cohesive unit.


Step 3: Secure Them with Toothpicks

Secure the salami roses to the tray with toothpicks. Use 1-2 toothpicks per piece of salami roses, depending on their size and shape, and place them perpendicular to each other, so they cross over one another.

The toothpicks should also have a space between them so that air can circulate through the salami roses.

Make sure to place the toothpick at an angle that does not poke out on either side of your salami roses, as this will spoil your perfect shape.


Step 4: Arrange the Petals

Now is your chance to get creative and add personal touches to your festive charcuterie boards.

One of the easiest ways to make your cheese board look straight out of a chic restaurant is by arranging the salami rose petals right!


Making a Salami Rose with a Wine Glass

Have you ever made a beautiful salami rose with the help of a wine glass? It looks fancy, is easy, and does not require special tools.

All you need is some salami, a wine glass, and something to cut into thin salami slices. You can also use a cutting board and slicing cheese knives for making salami roses!


Step 1: Making the First Layer

For the first layer, take four slices of meat salami, place them in the wine glass, and fold each slice half lengthwise. Push them together, so they are touching.

Then, flip the wine glass onto your cheese boards, and they will stick. Spread the folds out, so they have some space between them. Repeat this process!


Step 2: Adding More Layers

This method is excellent because it minimizes waste by using every piece. It is easier than other methods if you want a neat appearance for your charcuterie board presentation.

You can add 5 or 6 more layers of salami slices if desired. The higher number of layers usually means more pieces per stack but less waste.


Step 3: Turn the Glass Over


You should cover the shot glass with a saucer and place the glass upside down on a plate.

The round slices should now rest on top of everything else in your charcuterie board, just as you wanted!


Step 4: Unveil the Salami Rose

Now raise your wine or shot glass to show off your salami rose!


The Quarter Fold

Take a slice, fold it directly in half, then in half again to make a rough equilateral triangle with one rounded edge. With these quarters you can create a variety of textures on the cheese board.

The Classic Roll

The most traditional way to present salami is by rolling it into a classic shape. Start by cutting the salami into thin slices. Then, take each slice and roll it up into a tight cylinder. This technique is simple and easy, and works well for all types of salami.

Quick Way to Fold Salami for Charcuterie Board Like a Pro!

You can prepare your salami meat roses on the cheese board in many ways. This technique is easy and looks the most elegant.

  1. Cut the salami into 1⁄4 slices with the meat's grain running parallel to you and your knife. The size will vary depending on the diameter of the sausage, but you want at least two slices per person; three is better. These are called salami fans.
  2. If a long strip from the cutting goes across one of your fans, you will need two pieces, one fan each, with that piece removed.
  3. Fold one edge of your fan so it sticks out about 3/4 or 1. You will need to work quickly because this step takes about 20 seconds or less before the oils start leaching out of your cured meats.
  4. If you have time and serve more than four people, I recommend doubling up these steps to give guests more variety on charcuterie boards.
  5. It is also important to note that different types of salami rose will work best for specific dishes like antipasto platters or charcuterie boards; some varieties may not be available where you live. Still, I recommend an excellent chorizo instead of other options.

Conclusion

Whether making a charcuterie board or just experimenting in the kitchen, knowing how to fold salami will make for an impressive display.

After all, nothing is more satisfying than cutting into an intricate crease and finding delicious, cured meat inside.

With these easy steps and tips, you will be making salami roses like a pro.

 Related: 

10 Festive Charcuterie Board Ideas for Christmas Party This Season!

Dessert Charcuterie Board Ideas to Make Your Next Party a Sweet Success


Also in Charcuterie Board Ideas

New Year's Eve Charcuterie Board Ideas
9 New Year's Charcuterie Board Ideas for Your Celebration

by Bethany Barbar January 09, 2024

New Year's Charcuterie Board Ideas are a great way to serve a variety of great snacks, cheeses, and cured meats to family and friends. Check them out!
Read More
Personalized Cutting Boards
53 Chic Personalized Cutting Boards for Stylish Kitchens

by Melissa Bajda December 30, 2023

Welcome to the world of culinary artistry, where the tools you use are just as important as the ingredients you select! We're diving into the realm of personalized cutting boards, a must-have for any kitchen enthusiast or professional chef. Cutting boards are more than just surfaces for chopping and slicing; they are canvases for culinary creativity and personal expression.

Read More
Summer Charcuterie Board Ideas
Summer Charcuterie Board Ideas to Spice Up Your Picnics

by Melissa Bajda April 19, 2023

Summer is the perfect time to enjoy a delicious charcuterie board with family. We've compiled a list of 16 Summer Charcuterie Board Ideas that will be a hit!
Read More

OVER 50,000 SATISFIED CUSTOMERS SERVED